Skip to main navigation Skip to main content Skip to page footer

Your Data - the basis for your project

The input data - essential for quality results

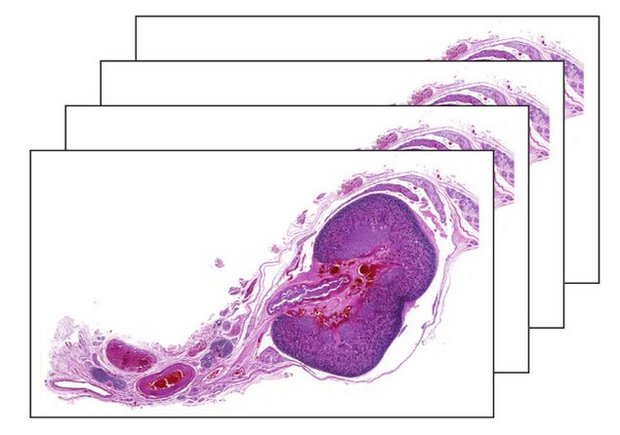
While a 3-D reconstruction is in principle possible for any sequential image data, there are a few aspects to consider if you want to achieve the best quality for your reconstruction results. 

This already starts with the specimen preparation. 

The best way to optimize your results is to discuss your ideas with us before you start the prepartion process - for ideal resolution, reconstruction and visualization!

Compact Specimen

Less cavities mean better results

Typically, objects with cavities and holes (e.g., the heart) are prone to deformations and defects like tears. These artifacts can only be reversed to some degree, therefore having a compact specimen will usually result in better reconstructions.

Slice Thickness

Key element to good visual impression

The slice thickness you choose for your preparation will define the image resolution in z (along the stack) - therefore it is a crucial decision to make. 

You are interested in the overall context or morphology of your entire specimen? 10-20µm might be enough. You are interested in the more intricate details and would like to have the highest resolution possible? Then 4µm or even thinner slices might be required.  

Of course one needs to weigh between the necessities of the reconstruction versus the cost and labor to prepare the slices - if you are in doubt, let's discuss what you want to achieve before cutting!

You can find more details about image resolution in our Technical Info article.

Histological Staining

Emphasize your target structure

Using the right staining method might make just the difference between a good and a stunning visualization. Ideally, the structure you are most interested in visualizing should be stained distinctly different to the other parts. This helps the reconstruction process in different ways. 

One the one hand it alleviates restoring the tissue coherence - simply said, the algorithm is better able to see which parts belong together. On the other hand, the visualization of the target structure and delineation from surrounding structures becomes much easier. 

We know that not all staining methods are alike regarding price and effort, a discussion about the possibilites might help!

Note also that alternating between stainings will usually not lead to a satisfactory result. While a reconstruction - meaning the alignment and fit of images - is possible, a good visualization using all images is usually not possible. 

Slice Sorting

A significant property

The preparation of the slices is still a highly manual process which requires skill and a steady hand. 

In the various steps during slicing and placing the individual sections on object plates, there is unfortunately the chance that the original sequence of slices gets mixed up. While this might not be too obvious when inspecting the individual slice images, it definitely negatively affects the 3D reconstruction. 

Think about slicing an apple, and assembling the slices in a different order - the outlines will never match, the final object not look like an apple anymore. Therefore, making the lab technicians aware of the relevance of the correct order of slices is key!

Scanning

The digitization step

Scanning the slides might seem like the easiest step - but also here are some things to keep in mind. 

Set the scanner up so that it reliably scans the entire tissue slides without skipping parts at the border. Check whether the images are in focus, and well and homogeneously illuminated without being over- or undersaturated. 

Last, if you do not need 40x magnification (which usually does not make sense anyway), consider scanning only 5x or 10x, depending on your reconstruction goal. This saves time, disk space, transmission and reconstruction times!